Transfer Gel on Cakes
Today in the 2nd class of the beginner's decorating class.... we brought in a cake, learned how to level - learned that the bottom of the cake goes on top, because it's a flat smooth surface for decorating. We did a crumb cake, but the instructor added meringue powder in the icing to help the icing harden up quicker. The room was hot, because the temperature is controlled by the home office of Michael's located up north, where it's not hot as hell as New Orleans right now. Which makes it difficult for cake icing to dry.
So, after adding the powder, doing a thin layer of crumb layer and then waiting... until the icing doesn't come off on your finger when you touch the cake....
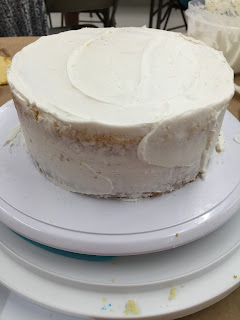
Then we added a thicker layer of icing. Add enough icing that you will be able to wipe off icing and not touch the crumb coat/cake. I found that I had a hump to the top of my cake and I couldn't understand why when I had a flat bottom originally. Valeta, our instructor, said that it was too much icing and she applied more pressure to move the icing out and over the cake. There are tools you can use to get the cake smooth. I didn't have any of them, so I just used the spatula. But there's one she really recommended that you use for painting.. I'll have to go to the hardware store to find an item to be used for cake decorating, Lol... Valeta also highly recommended Viva paper towels, with no design, as the final stage of smoothing.
Here's the cake, smooth from the spatula:

Later, I did use the Viva paper towels that another student happened to bring with her. Just lightly cover the top with the paper towel and smooth gently, go around the side as well. So, the cake ended up being a little smoother than the above picture. Our instructor suggested using a paper towel along with a fondant smoother instead of your hand to get it super smooth.
To the decorating! We used transfer gel. I didn't take a picture of it. I bought a small tube of the gel the last time we had a class.
Inside the student kit, there were a couple of different pictures, one of a cupcake, a giraffe, butterfly, etc. I went with the butterfly. You put a piece of wax paper over the picture, then use the gel to outline the picture. Carefully pick up the wax paper and put it (gel facing down) on the cake. You don't need to press hard, just lightly touch it to the cake. The outline gel can actually be used multiple times.
Then you start filling in the design! You can outline the design in a black icing, but I went with blue and just made sure I ended up covering as much of the gel as I could.

I was very happy with the butterfly! I used the same star tip to do stars on the top. Then used the same tip to make small rosettes to the side (just of a little variety in the design). And shell border at the bottom, again - all using the same tip.

I think this is one of the nicest cakes I've decorated! Greg said he was prepared to "fake a surprise" sound at how pretty the cake came out, but said he was really sincere that it was a surprise with how it came out. Gregory liked it too. I used coconut flavoring on the icing, but personally, I'd rather vanilla or wedding flavor. Coconut is fun the first bite, but after that it gets a little overwhelming.
So, after adding the powder, doing a thin layer of crumb layer and then waiting... until the icing doesn't come off on your finger when you touch the cake....

Then we added a thicker layer of icing. Add enough icing that you will be able to wipe off icing and not touch the crumb coat/cake. I found that I had a hump to the top of my cake and I couldn't understand why when I had a flat bottom originally. Valeta, our instructor, said that it was too much icing and she applied more pressure to move the icing out and over the cake. There are tools you can use to get the cake smooth. I didn't have any of them, so I just used the spatula. But there's one she really recommended that you use for painting.. I'll have to go to the hardware store to find an item to be used for cake decorating, Lol... Valeta also highly recommended Viva paper towels, with no design, as the final stage of smoothing.
Here's the cake, smooth from the spatula:
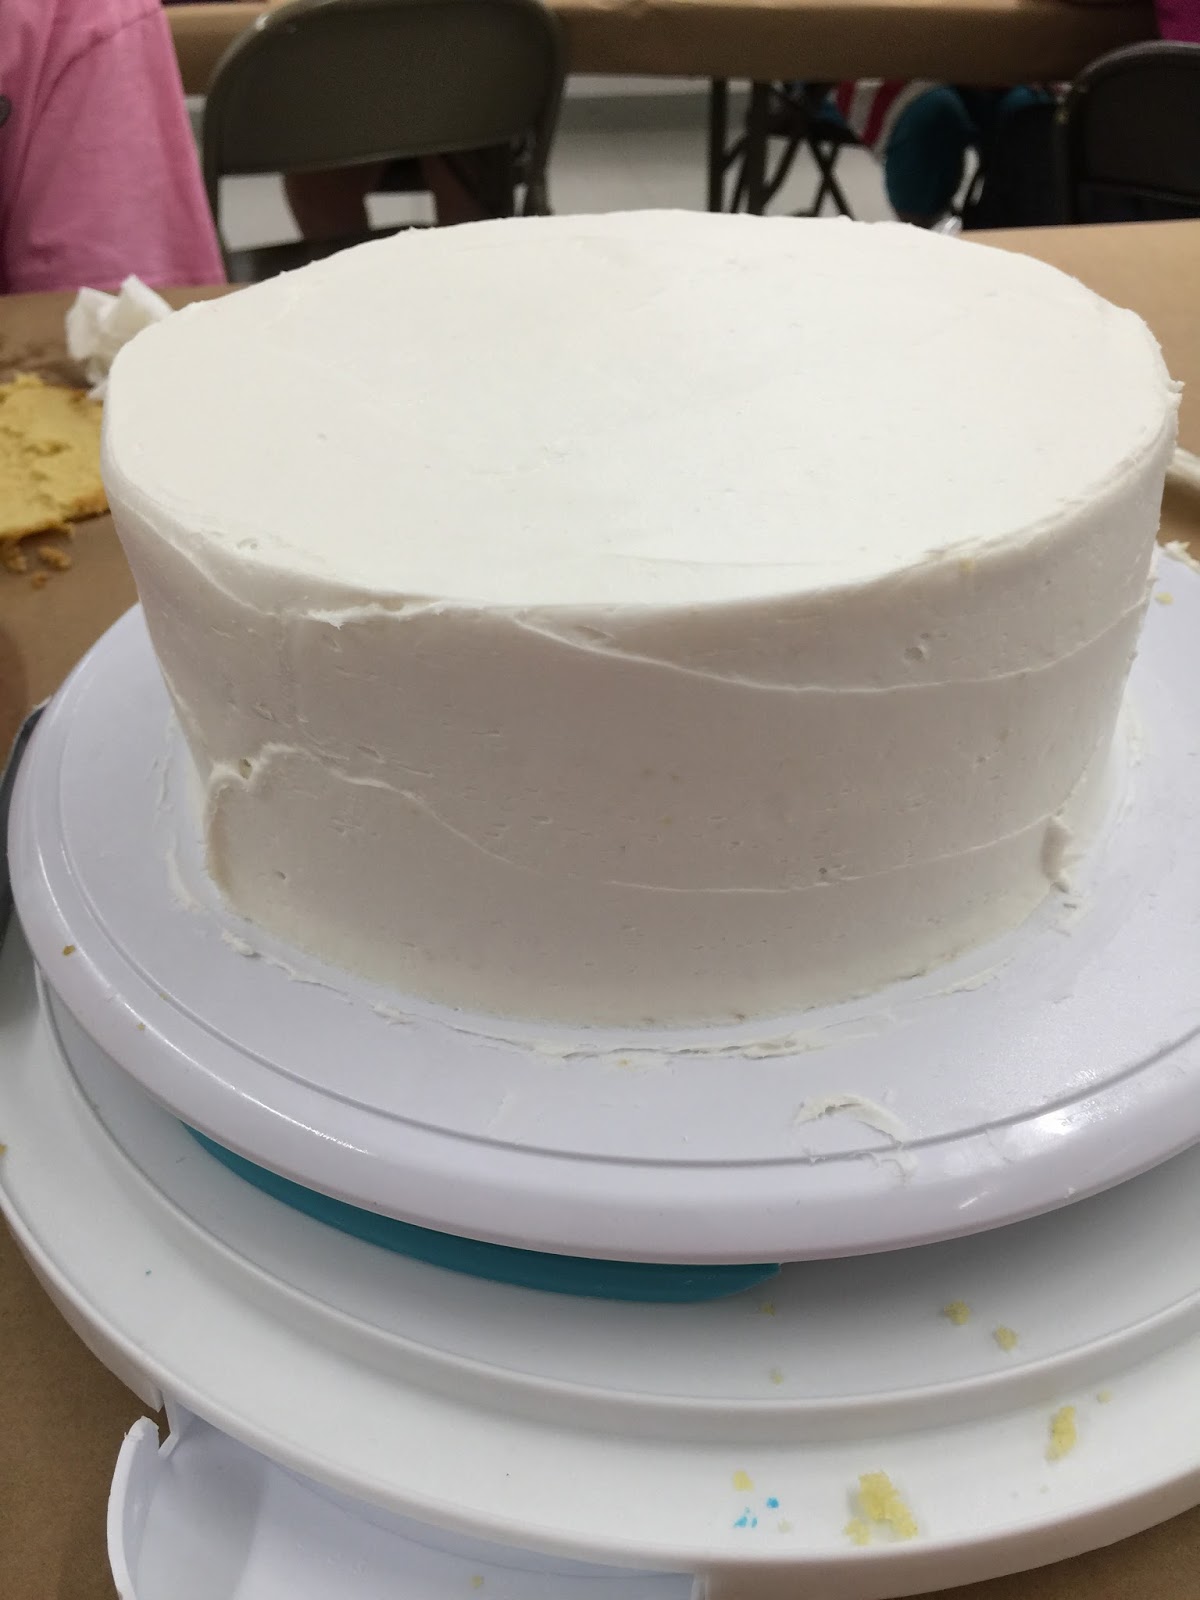
Later, I did use the Viva paper towels that another student happened to bring with her. Just lightly cover the top with the paper towel and smooth gently, go around the side as well. So, the cake ended up being a little smoother than the above picture. Our instructor suggested using a paper towel along with a fondant smoother instead of your hand to get it super smooth.
To the decorating! We used transfer gel. I didn't take a picture of it. I bought a small tube of the gel the last time we had a class.
Inside the student kit, there were a couple of different pictures, one of a cupcake, a giraffe, butterfly, etc. I went with the butterfly. You put a piece of wax paper over the picture, then use the gel to outline the picture. Carefully pick up the wax paper and put it (gel facing down) on the cake. You don't need to press hard, just lightly touch it to the cake. The outline gel can actually be used multiple times.
Then you start filling in the design! You can outline the design in a black icing, but I went with blue and just made sure I ended up covering as much of the gel as I could.

I was very happy with the butterfly! I used the same star tip to do stars on the top. Then used the same tip to make small rosettes to the side (just of a little variety in the design). And shell border at the bottom, again - all using the same tip.

I think this is one of the nicest cakes I've decorated! Greg said he was prepared to "fake a surprise" sound at how pretty the cake came out, but said he was really sincere that it was a surprise with how it came out. Gregory liked it too. I used coconut flavoring on the icing, but personally, I'd rather vanilla or wedding flavor. Coconut is fun the first bite, but after that it gets a little overwhelming.
Comments